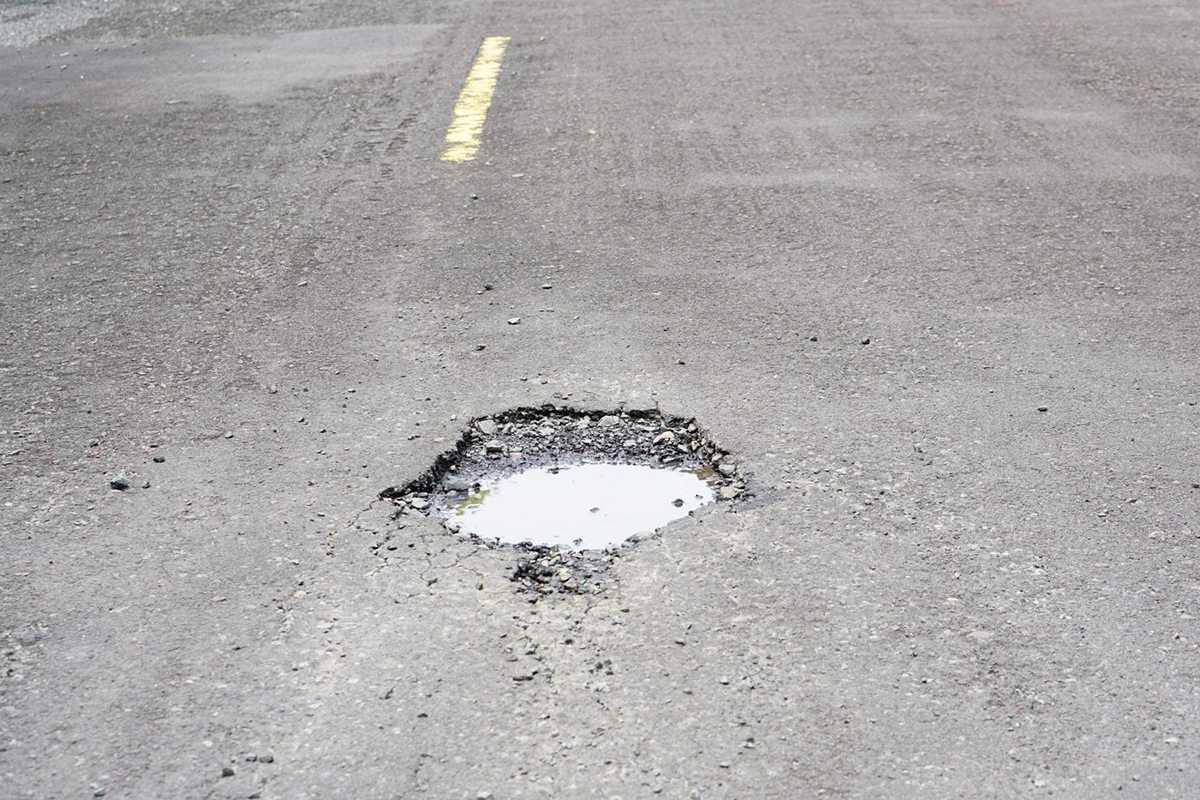
Asphalt paving can add to the beauty, convenience, and functionality of your property's outdoor areas. However, over time, asphalt driveways, parking lots, and walkways can become damaged due to constant wear and tear, weather conditions, and other factors. Cracks, potholes, and small depressions in asphalt paving surfaces can make them look unsightly and pose safety hazards. Repairing asphalt damage promptly can help prevent further damage, improve the aesthetics of your property, and prevent accidents. In this blog post, we'll share five tips for DIY asphalt patching to help you restore your asphalt paving surfaces quickly and cost-effectively.
Start with a clean surface
Before repairing the damaged asphalt, it is crucial to clean the surface area thoroughly. Use a broom, blower, or pressure washer to clear away any debris, dirt, grease, or oil that may be on the asphalt surface. This ensures that the asphalt patching material adheres properly and lasts longer. Additionally, cleaning the area also helps you assess the extent of the damage accurately.
Prepare the surface
Once you have cleaned the area, you will need to prepare the surface for patching. Use a chisel or hammer and other tools to remove any loose, broken, or damaged pieces of asphalt from the surface. You should have a firm, smooth surface to apply the patch. If the damage is extensive, you may need to apply a filler or leveling material before patching. Be sure to follow the manufacturer's instructions when using any patching or leveling material.
Choose the right patching material
Selecting the right patching material is critical to ensuring a durable repair. There are different types of patching materials available in the market, such as cold patch, hot asphalt mix, and emulsion-based patching compounds. Each material has its advantages and disadvantages based on the extent of the damage, the time of the year, and other factors. Be sure to choose a patching material that matches the surrounding asphalt and is compatible with the existing pavement.
Apply the patch
Once you have prepared the surface and selected the patching material, it's time to apply the patch. Follow the manufacturer's instructions carefully. It is generally recommended that you apply the patch material in layers of two inches and compact it using a tamper or roller. Be sure to maintain uniformity in surface elevation. When you have applied the patch, let it cure according to the manufacturer's instructions.
Sealcoat the patched surface
After the patch has cured, the final step is to sealcoat the patched surface. This helps protect the surface from weather elements, traffic, and UV radiation. Be sure to apply sealcoat only after the patch has cured, typically after seven to fourteen days. Follow the manufacturer's instructions for the sealcoat, including surface preparation, application technique, and drying time.
Conclusion
DIY asphalt patching can be a cost-effective solution to repair minor damage to your asphalt paving surfaces. However, it is essential to follow these tips carefully to ensure a durable repair. For extensive damage, it is best to hire a professional asphalt paving contractor who has the skills, knowledge, and equipment to handle the repairs efficiently and safely. At Reliable Pavement Maintenance, Inc. we have been serving Tavares, FL, and surrounding areas with reliable, affordable, and high-quality asphalt paving services for many years. Contact us today to request a free estimate.