How to DIY Patch Asphalt: A Step-by-Step Guide

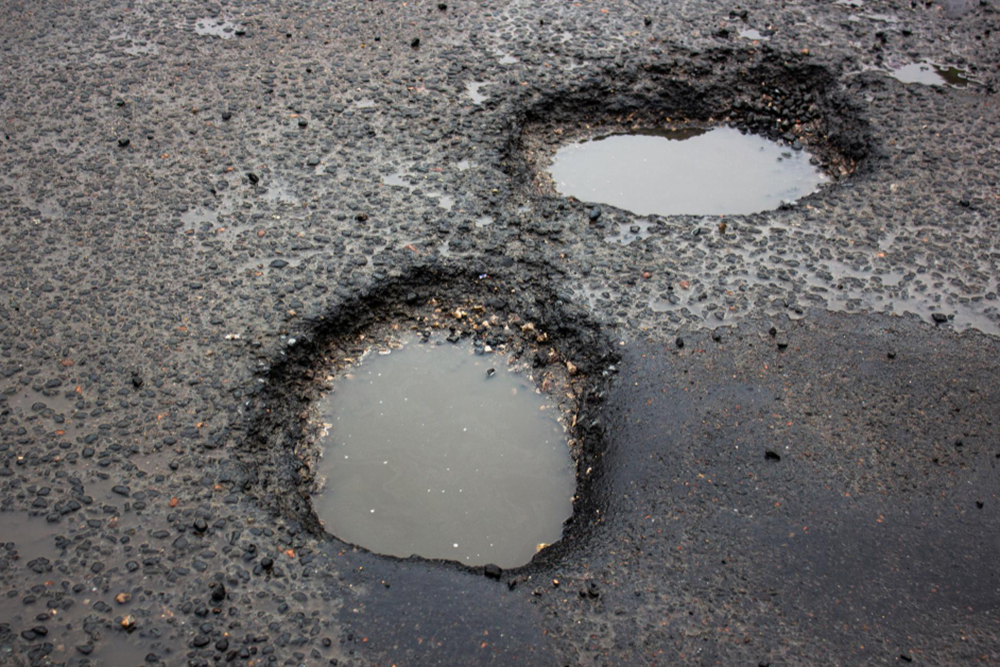
Maintaining your asphalt driveway in good condition can add to your home's curb appeal and give you a well-paved surface for your vehicles. But, over time, asphalt surfaces can develop cracks and potholes that ruin the smooth and flat look of your driveway. These damages can also lead to more expensive repairs in the future if not addressed promptly. Although hiring an experienced asphalt contractor is an option, patching your asphalt driveway can be a DIY project. This guide explores how to DIY patch asphalt so that you can have a well-maintained driveway.
Step 1: Clean the Surface
The first thing you need to do to patch asphalt is to clean it. This includes removing any debris that may have accumulated on the surface and using a stiff broom and a cleaning solution to clean the surface of any dirt or oils that can affect the bond between the patch and the surrounding asphalt. You can use a high-pressure washer to remove any stubborn dirt or stains.
Step 2: Prepare the Asphalt for Patching
You will need to purchase cold patch asphalt mix from your local home improvement store. The mixture is a combination of asphalt and crushed stones that come pre-mixed and ready to use. Before using the mixture, stir it thoroughly with a shovel or rake to ensure that it's well-mixed. Afterward, use a shovel or trowel to spread the mixture over the hole or crack until there's a slight bump in the surface.
Step 3: Compact the Asphalt Mixture
After spreading the mixture over the hole or crack, use a tamper to compact the asphalt into the hole. Continue to add the mixture until it reaches the same level as the surrounding asphalt. Then, use the tamper to compact the edges of the patch to create a slope that blends in with the surrounding asphalt. The slope will help water to drain from the surface, preventing pooling water that can damage the asphalt.
Step 4: Allow the Patch to Dry
After compacting the patched area, allow it to dry for a few days before using it. The cold patch asphalt mixture takes some time to set and harden, so refrain from driving on the patched surface for at least 24-48 hours after applying the mixture. Cold weather can prolong the curing process, so if the weather is cold, give the patch more time to cure.
Step 5: Apply Sealcoating
Once the patch has cured, consider applying sealcoating to protect the patch and extend the life of the asphalt surface. Sealcoating is a protective sealant that protects asphalt surfaces from external factors that can lead to cracks and potholes. Applying sealcoating every two to three years can help extend the life of your asphalt surface and make it look new again.
Conclusion
Repairing your asphalt driveway is an essential part of maintaining your property. DIY patching asphalt can save you money in the short run, but the key to a successful patch job is proper preparation and following the manufacturer's instructions on the cold patch mixture you purchased. However, If you're in doubt, it's best to contact an experienced asphalt contractor in Lake County, FL. At Reliable Pavement Maintenance, we offer free estimates and quality service to meet all your asphalt repair and maintenance needs. Our team has years of experience repairing driveways and parking lots, so you can count on our expertise. Contact us today for your free estimate!