Asphalt is a popular and affordable paving material used in different areas, such as driveways, parking lots, and private roads. However, like any other surface, it is prone to wear, tear, and damage over time. Even when installed correctly and maintained regularly, cracks and potholes can develop due to heavy traffic, weather, or other factors. Fortunately, patching asphalt can restore the smooth and safe surface you need in no time. Whether you're a homeowner or a business owner, here's everything you need to know to patch asphalt like a pro.
Identify the problem.
The first step in patching asphalt is to identify the problem area. Depending on the size and severity of the damage, you may need to patch a small crack, a pothole, or several areas. Look for signs of erosion, rutting, or unevenness, and assess the extent of the damage. This will help you choose the right materials and techniques for the job, as well as estimate the time and cost involved.
Prepare the surface.
Before you can patch asphalt, you need to clean and prepare the surface. This means removing any debris, loose gravel, or vegetation from the damaged area, and using a broom or blower to get rid of dust and dirt. You may also need to cut the edges of the crack or pothole with a saw or chisel, to create a smooth and even surface. If the asphalt is severely worn or damaged, you may need to excavate and replace the base or subgrade before patching.
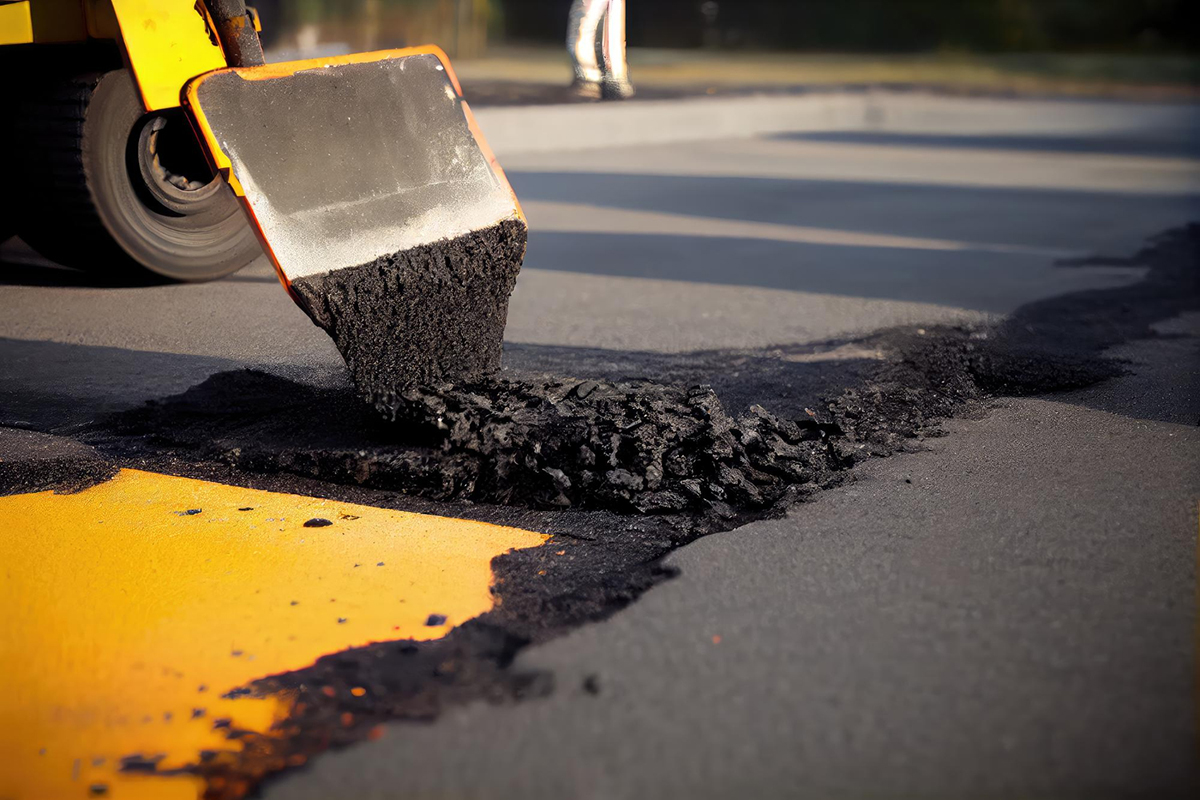
Apply the patching material.
Once the surface is clean and prepared, you can apply the patching material. There are different types of patching materials available, including cold patch, hot mix, and infrared patching. Cold patching is a temporary and quick solution that can be applied in all weather conditions, but may not last long. Hot mix and infrared patching are more durable and long-lasting options, but require specialized equipment and expertise. Choose the material that fits your budget, timeline, and needs, and follow the manufacturer's instructions carefully.
Compact the patching material.
After applying the patching material, you need to compact it to ensure a smooth and solid surface. This can be done with a hand tamper, a vibratory plate compactor, or a roller, depending on the size and depth of the patch. The compaction process helps to remove air voids and create a dense and strong bond between the new and existing asphalt. Be sure to wear protective gear, such as gloves, boots, and eye and ear protection, when operating compaction equipment.
Finish and seal the patch.
The final step in patching asphalt is to finish and seal the patch. This involves trimming any excess patching material, blending it with the surrounding asphalt, and applying a sealant that protects the patch from water, UV rays, and other elements. The sealant also helps to prevent future cracks and potholes, and extends the lifespan of your asphalt surface. Allow the patch to cure and dry completely before using it, and keep it clean and maintained to ensure its longevity.
Conclusion
Patching asphalt may seem daunting at first, but with the right tools, materials, and techniques, it can be a manageable and rewarding DIY project. However, if you're not confident in your skills or equipment, it's best to seek a professional asphalt contractor for a more thorough and durable repair. At Reliable Pavement Maintenance, Inc., we offer a range of asphalt repair and maintenance services in Tavares, FL, and surrounding areas. Contact us today to request an estimate or schedule an appointment, and let us help you keep your asphalt surfaces safe, smooth, and attractive.